
I have cycles, just as the seasons do, and Spring is about the time that I feel I need to muck out my house! I want to rid anything that is weighing us down….out with all the junk, clean out all the unused stuff, get organized with the stuff I want to keep, and clean clean clean! This is usually the same time that I want to refresh my look. It could just be moving some furniture, cycling some decor, getting new toss pillows, etc. etc.
Simplified, it’s buy new stuff to sell the old stuff in a garage sale! 🙂
Gotta love the garage sales!
Well this is the first spring in the new house, and it is going to be a dandy! This house is so much bigger than our last! Luckily though, we don’t use the basement much, so the cleaning and mucking down there will be pretty minimal. It’s also different because I did a lot of mucking already before we moved here (and just after we moved in). I already have a basement full of stuff ready for a sale!
So the mucking this year will be minimal, but the the buying and refreshing will not! Yay, the fun stuff!
We moved in over 6 months ago, but I have still not set up/set out/hung all of our decor stuff. It first started off with that I didn’t know where I wanted to put it, then I didn’t have a place to put it. Now, here we are EIGHT months into this house, and I still have not “moved in” completely! I know….disgraceful! There have been problems that needed solving that I just kept putting off.
That doesn’t sound like me, right? HA!
So when the urge for renewal hit this year, it awakened in me a new motivation to finish decorating this dang house! Solve the problems! Finish the rooms! And I am happy to say, that just a few weeks into March, we have already tackled 5 of the projects from my list! I’m a “never stop improving” girl, so there will always be improvements I want to do, but there was an essential list when we moved in here, and that list is getting shorter! 🙂
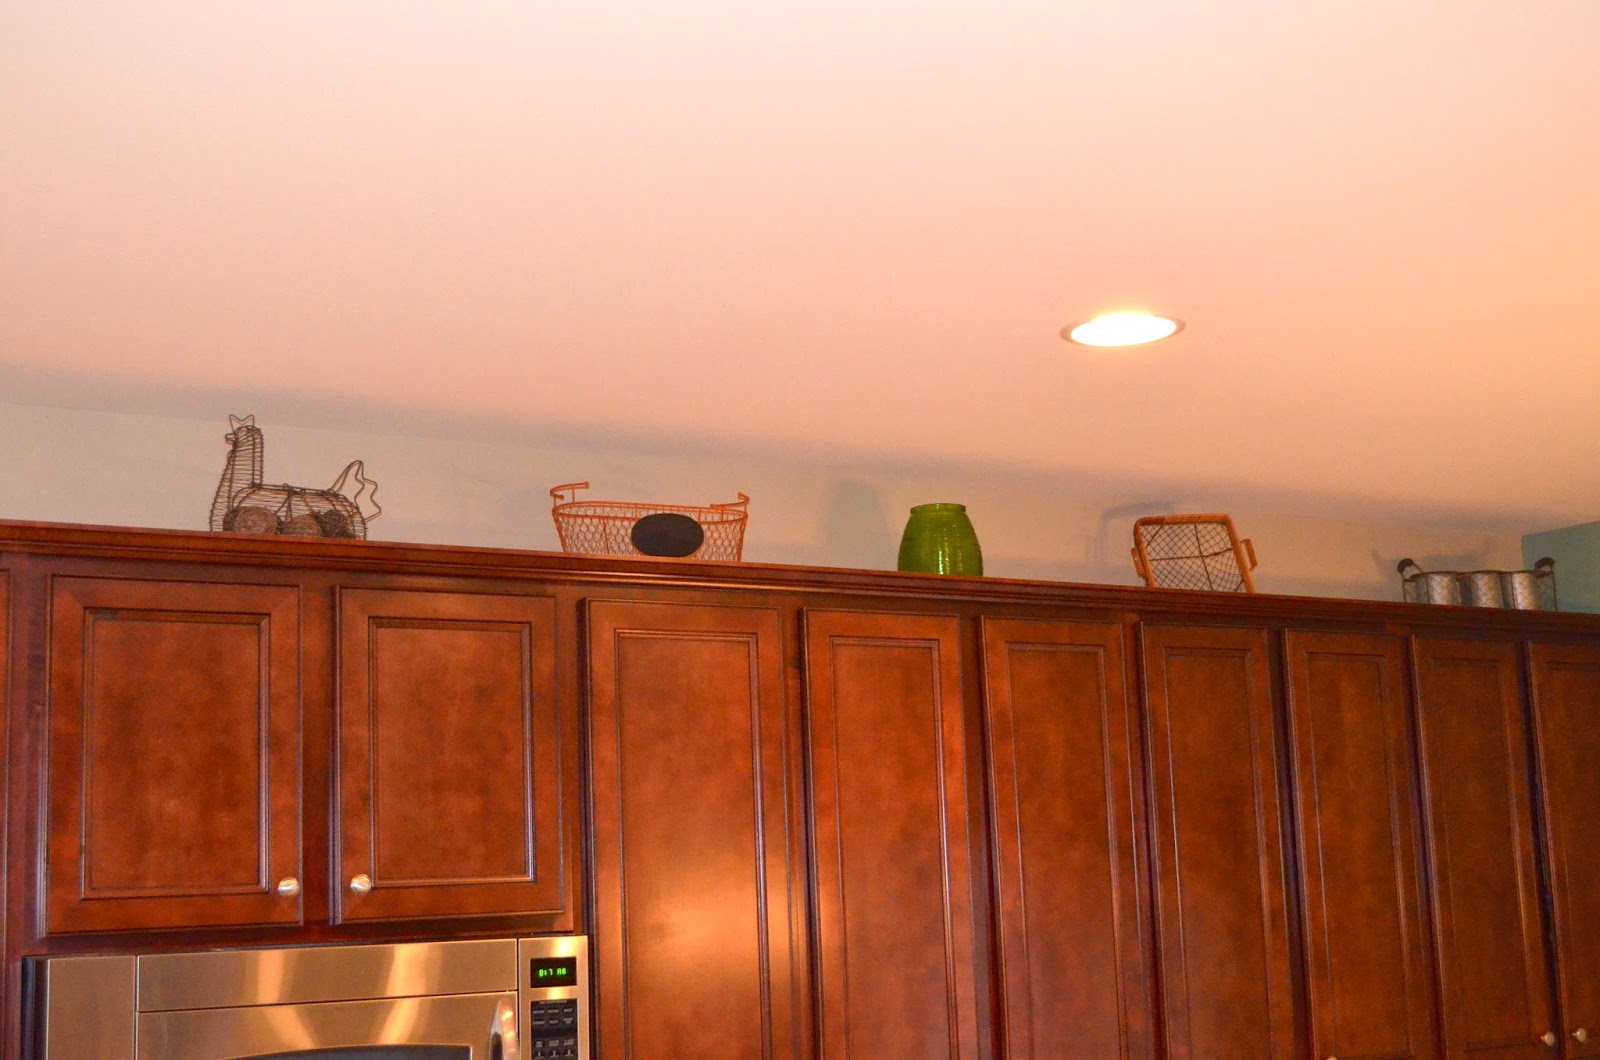
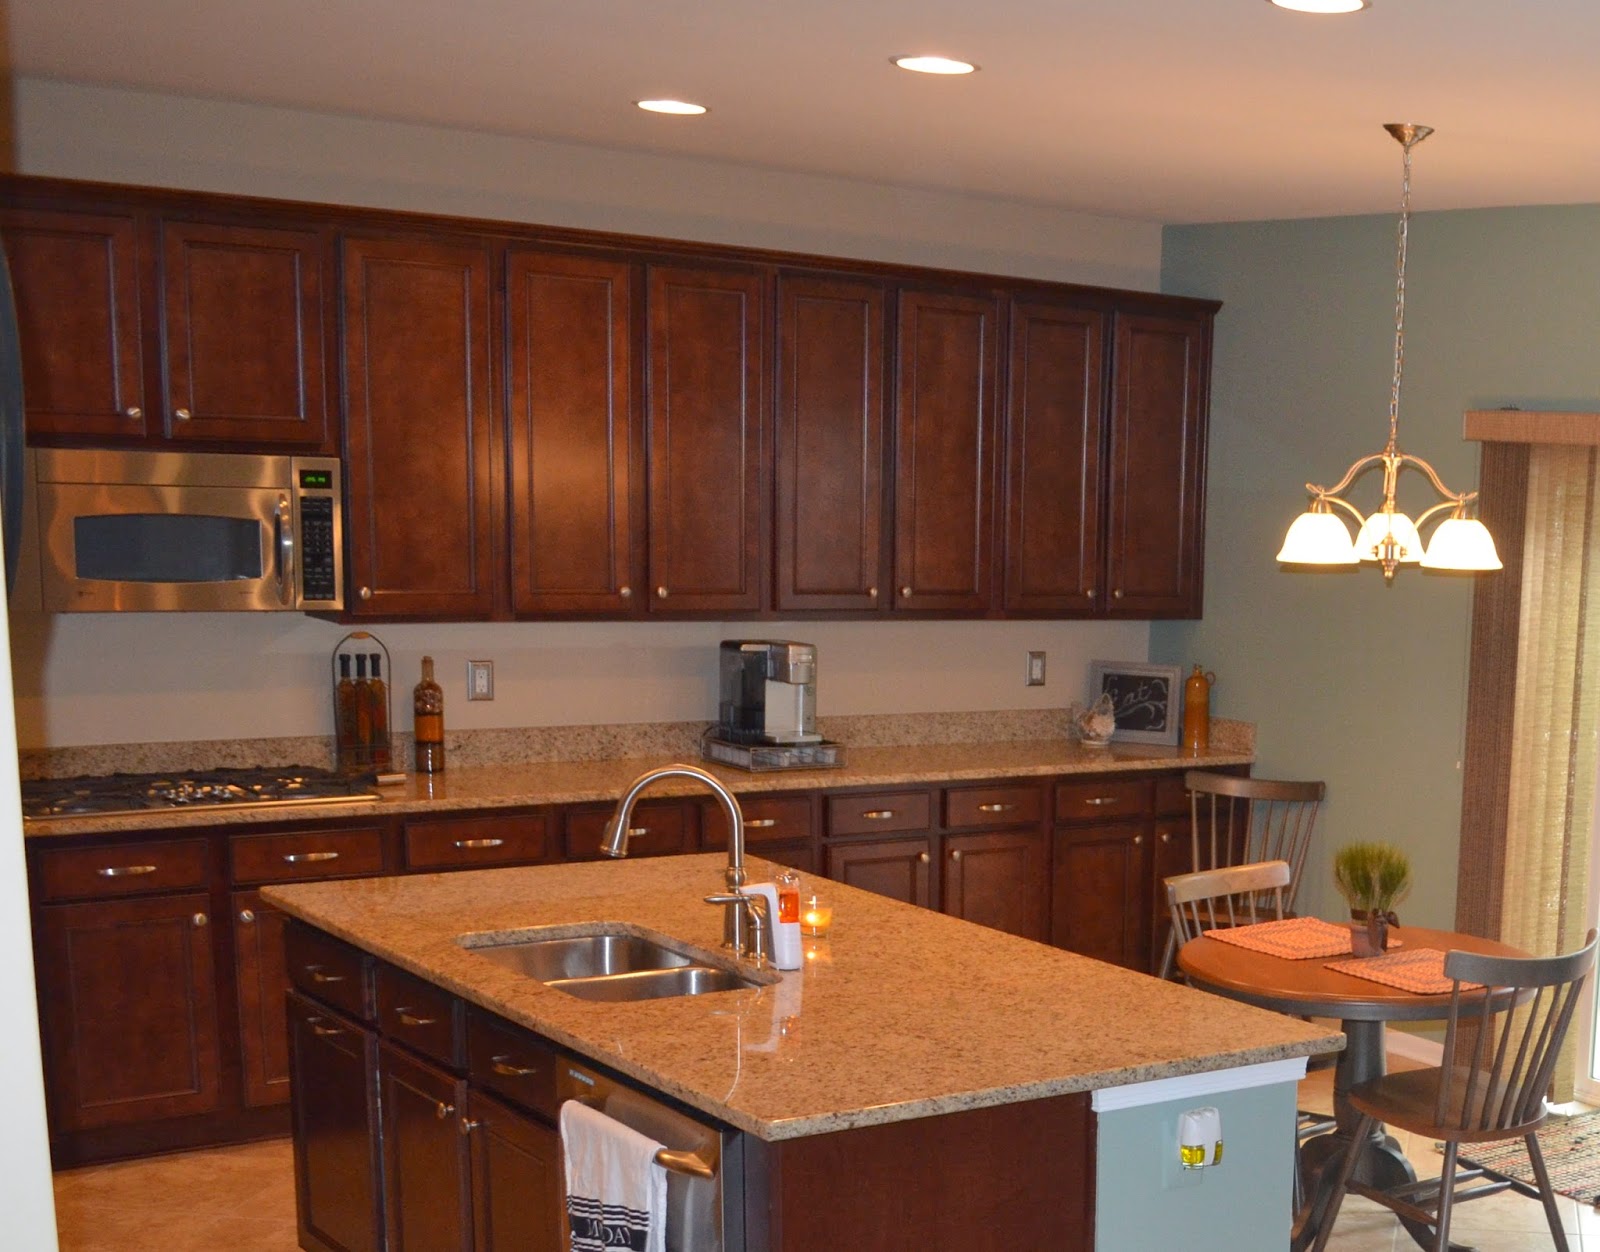
1. This house has room above the cupboards to put some decorative stuff. Problem is, it’s not enough room to put the same stuff I had above my cupboards in Arizona. So problem #1 was what to put up there. Problem #2, there is a lip + molding, so anything I tried to put up there was half hidden by the top of cupboard. *sigh*

So the solution was to put some wood planks on top of the cupboards to make a sort of bridge to set the objects up higher. This was the plan for months! It just got executed last week! I was the perfect solution!
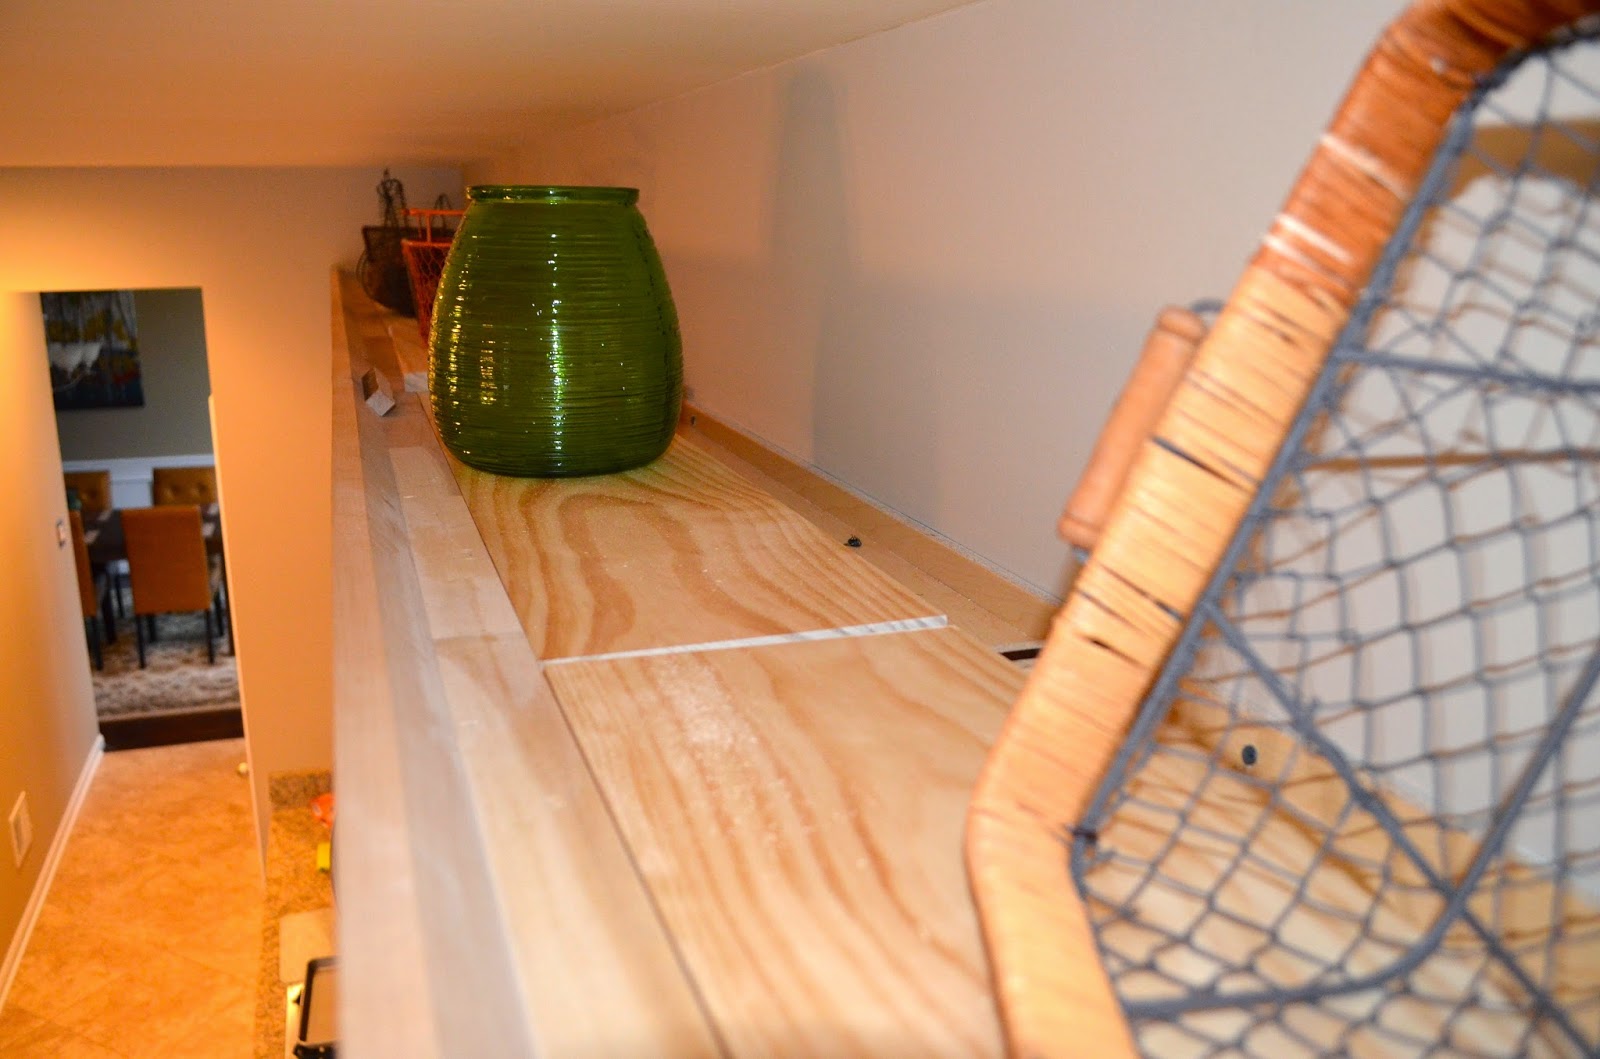
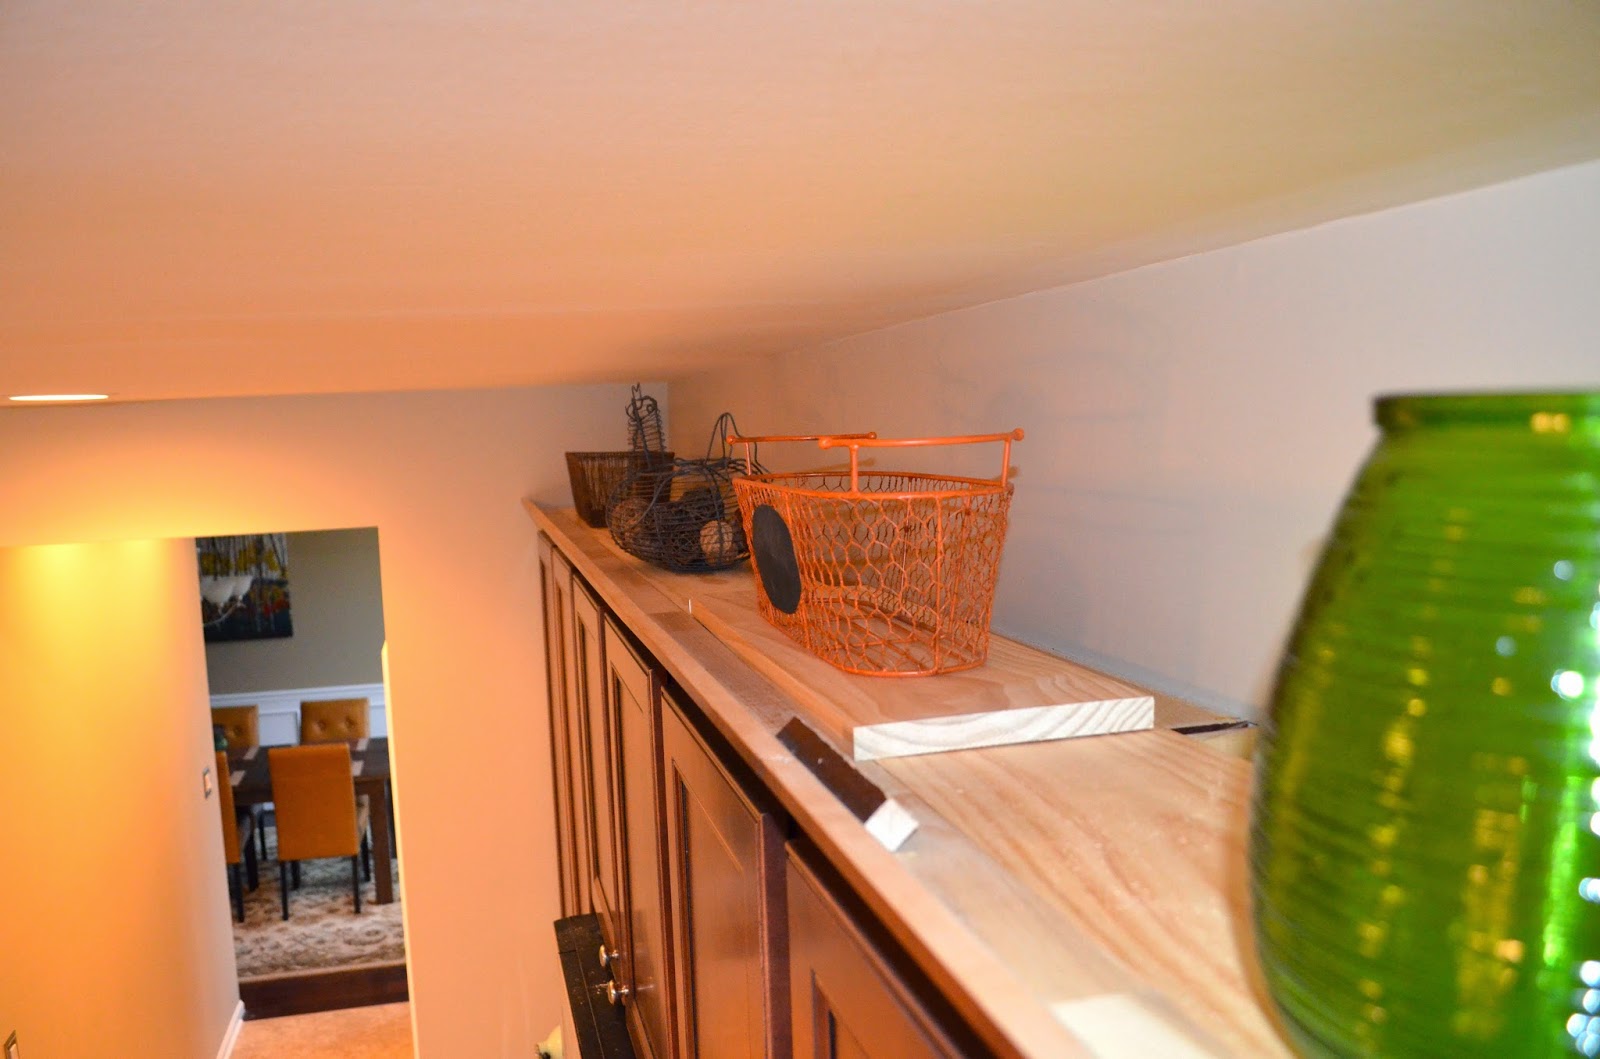
Oh, and as for problem #1, I am very into a ‘farmhouse kitchen’ look, and I had some cute country baskets already. So I just purchased a few more! I love my chicken basket! It’s so unique!
2. We ended up purchasing a whole new living room when we moved in here. It’s a long story about space and proportions and a fireplace…. So it has been a slow process getting everything finished. I knew for a long time that I wanted to get a console table to put behind the sectional, but I just had not found the right one. I wanted it to be long enough to stand up to the back of the couch, to have more than one shelf, and to be a weathered wood/rustic finish. Loved this one from Ana White, but don’t know if I want my first building project to be such a big one. I do want to start using her plans, but I need to start small I think. Anyway….we were wandering through Ikea a few weeks ago and spotted this beauty!
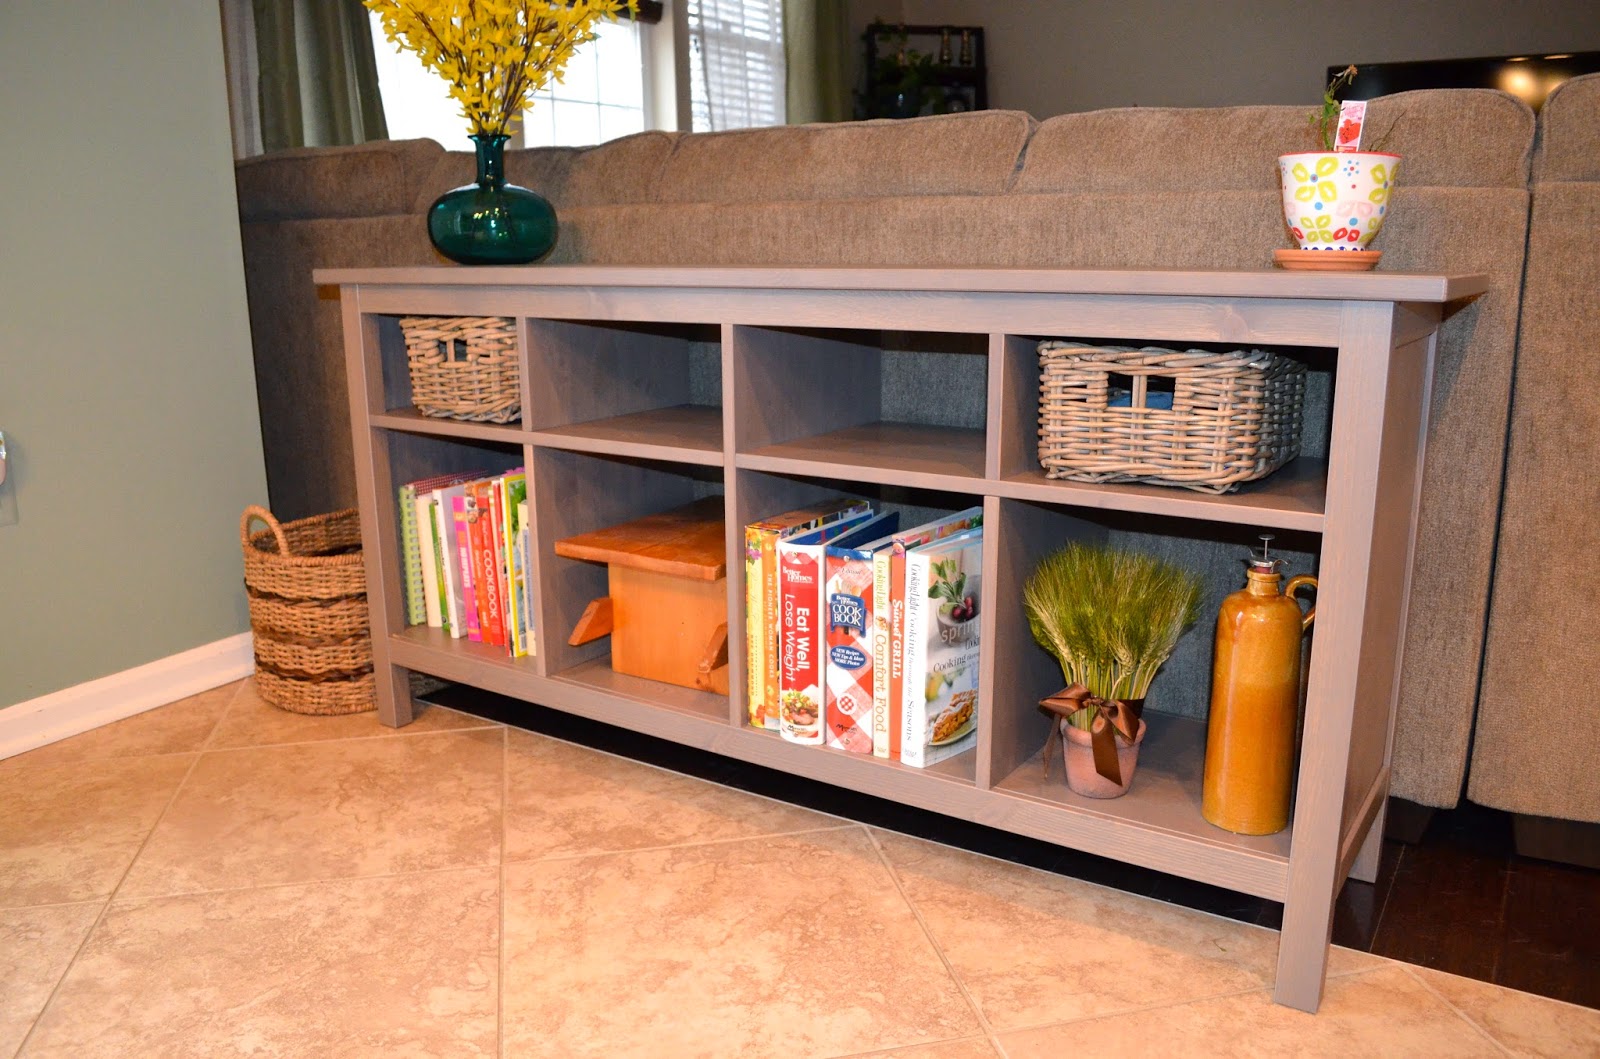
It’s not quite as long as I was hoping for, but at 62″, it’s not exactly petite! A strategically placed basket helps to adds some weight I think.
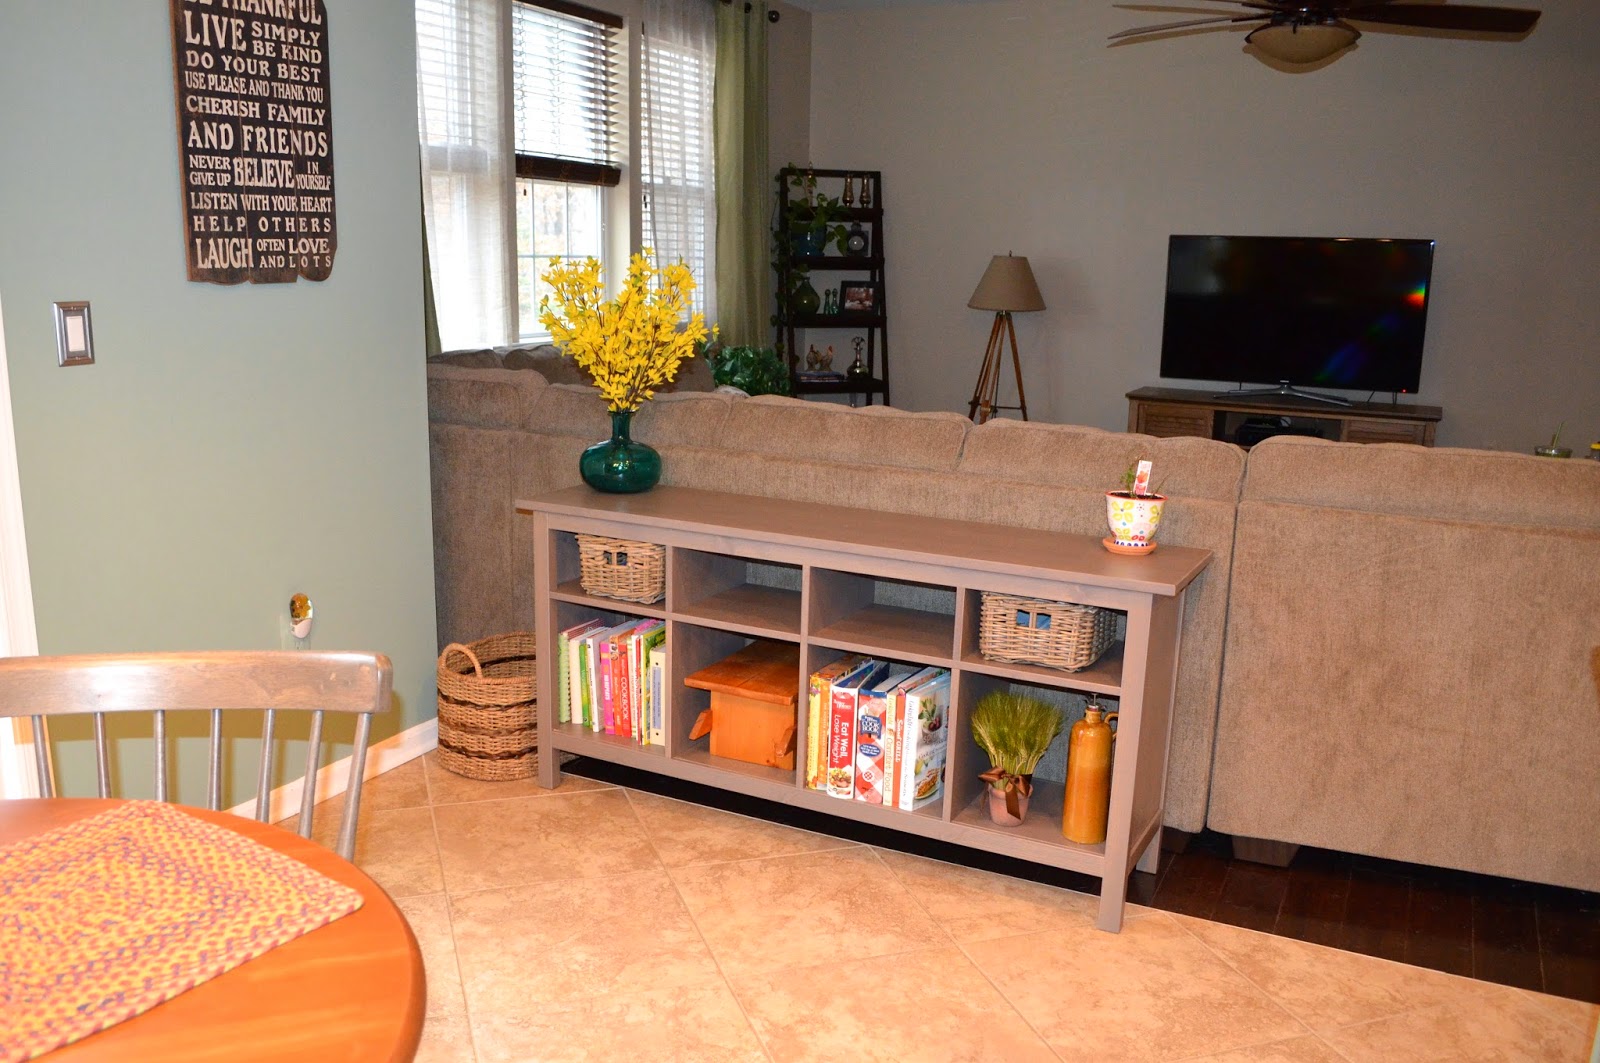
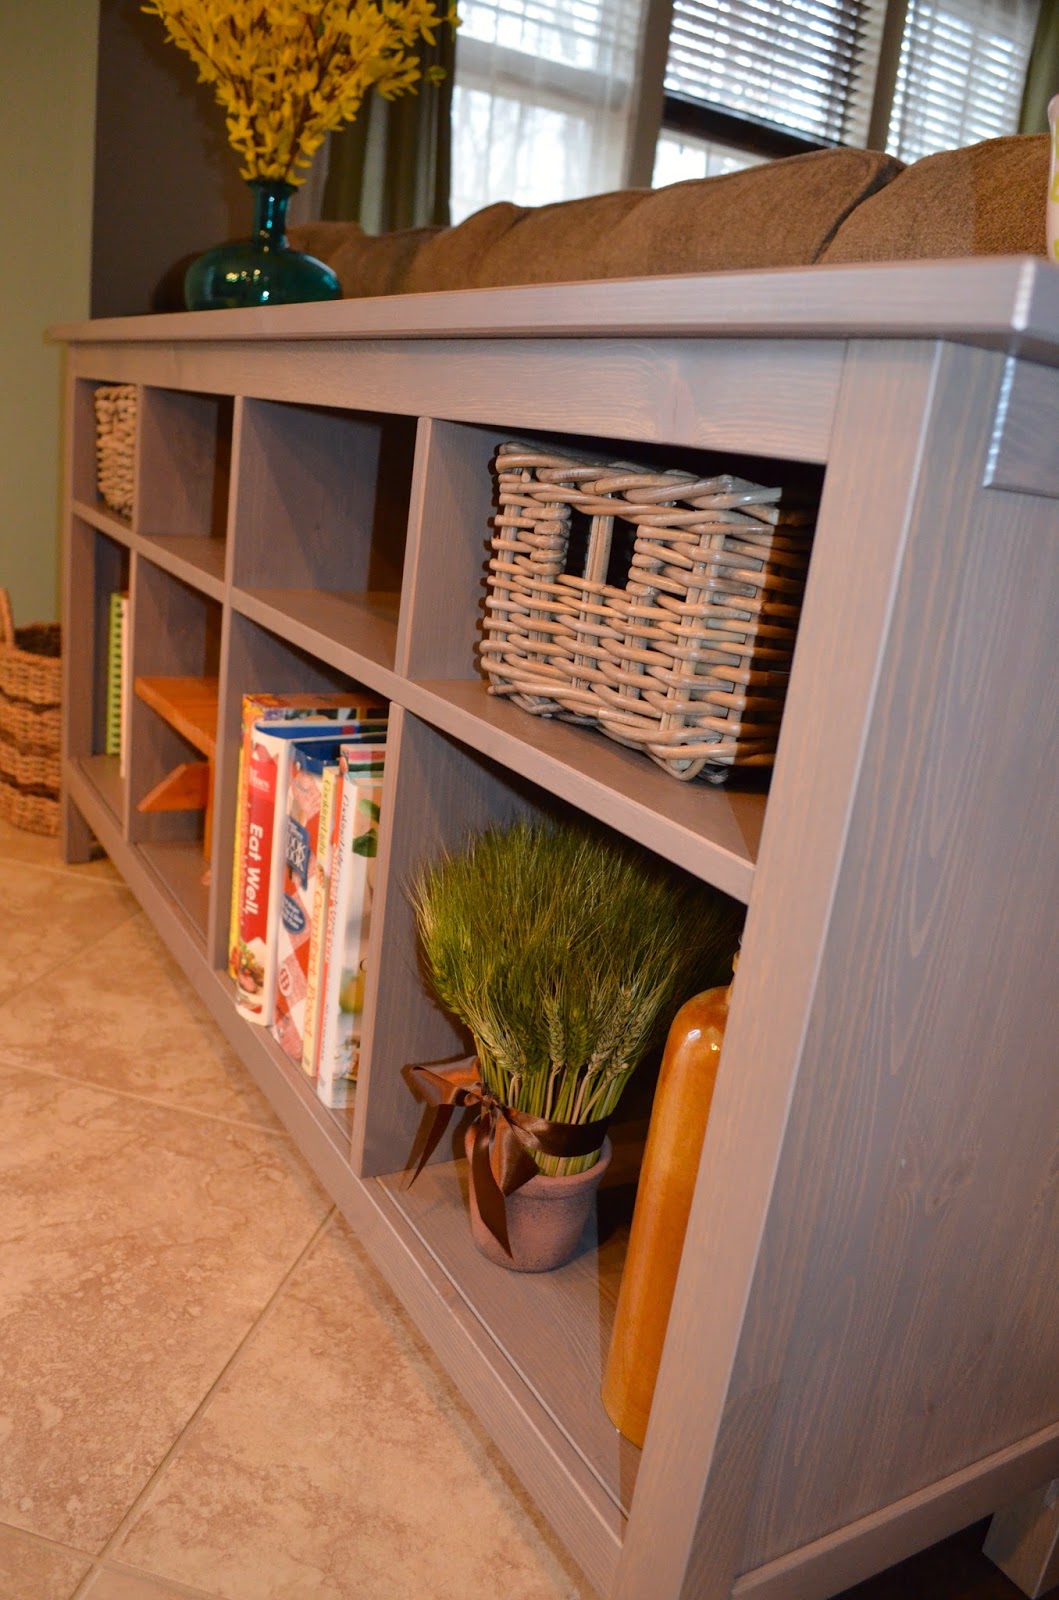 This is the first piece of furniture I have purchased from IKEA and I have to to say, I am pleasantly surprised! It’s solid wood…not that composite crap! It’s heavy and I love this wood grain! All for less than $200! Not bad at all! 🙂 (I just placed some stuff in/on the console so it would not be empty. I still have to decided on the decorating of it)
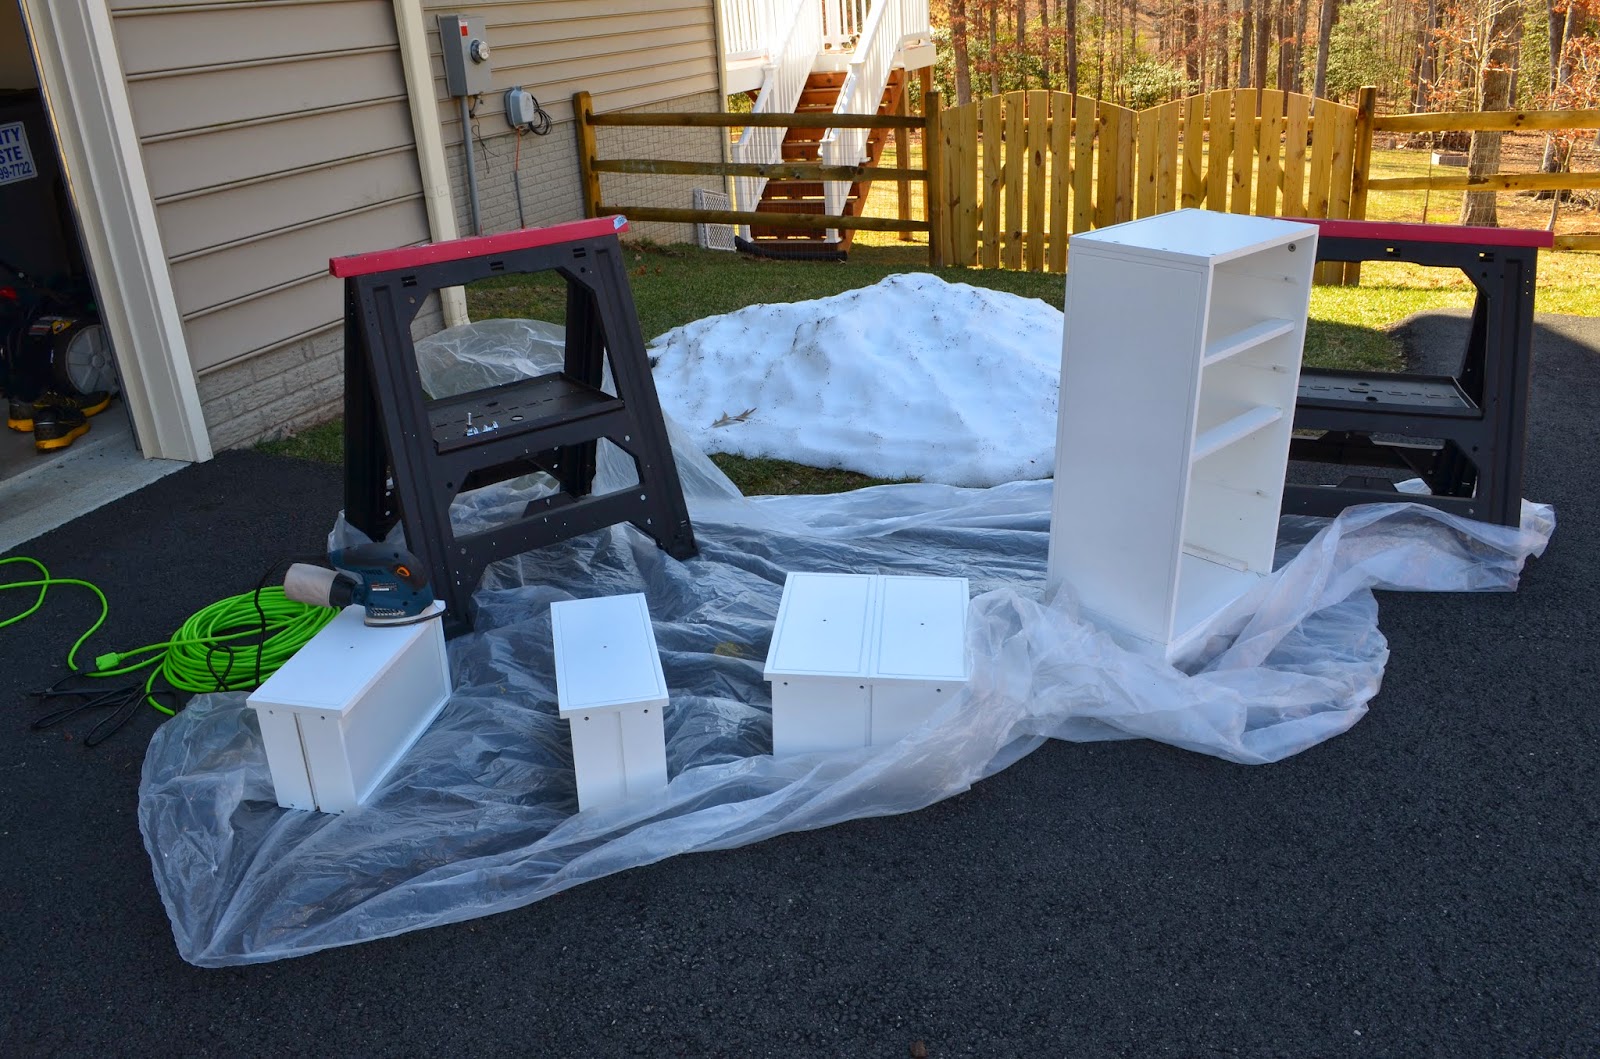
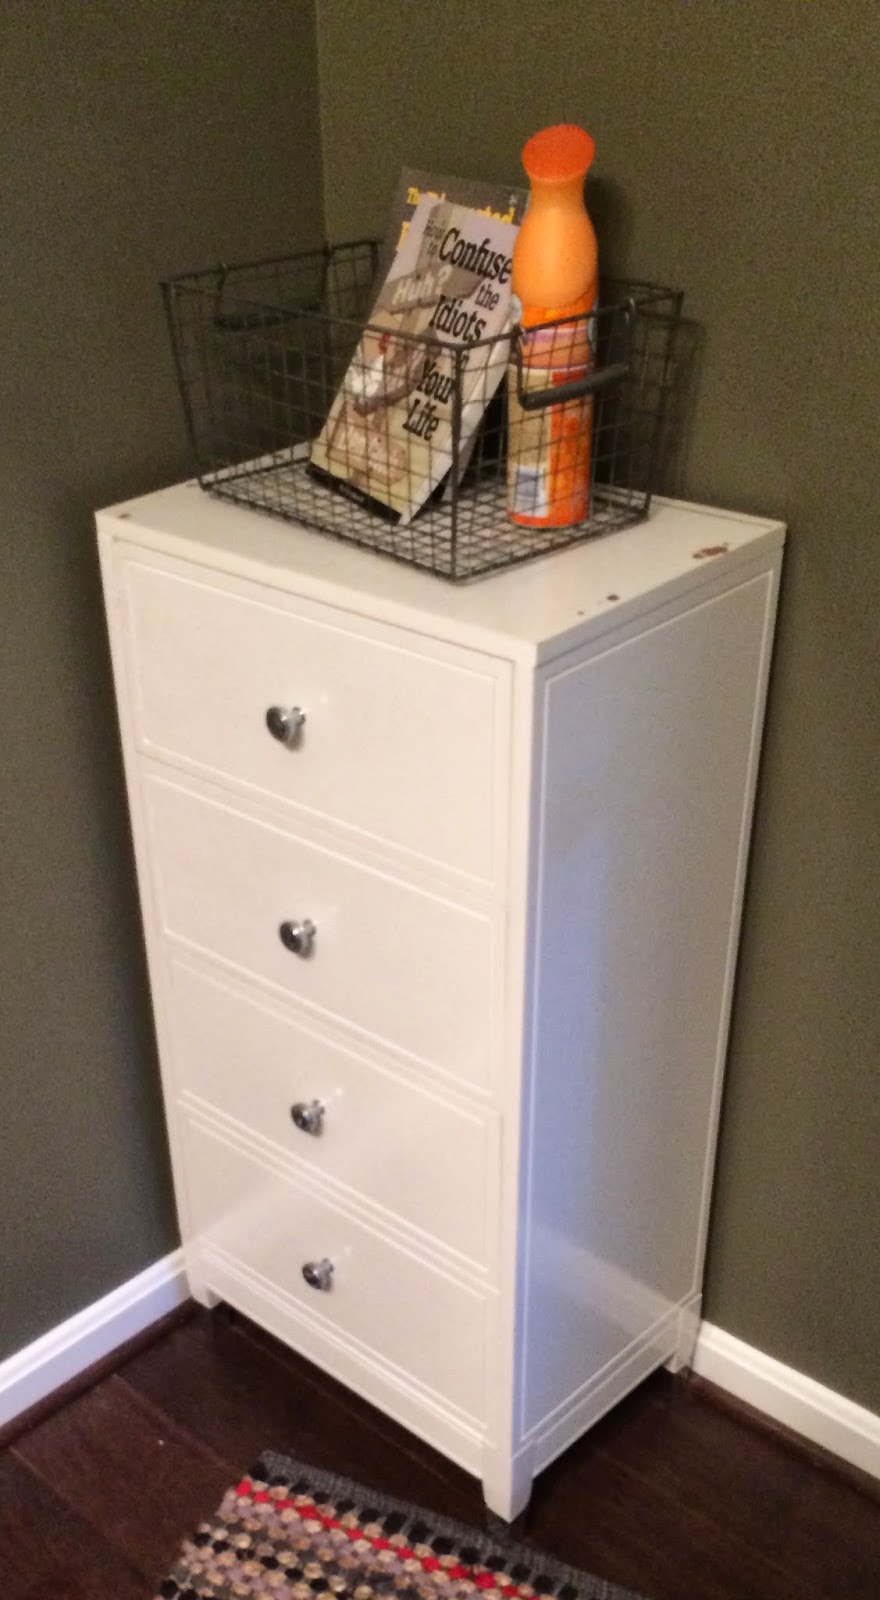
3. Upstairs, there is a room that is filled with all of the items that were damaged by the movers. It’s such a pain to have to try to replace furniture that was damaged! We had a tall cabinet in our bathroom that the movers thought should separated into two pieces. They were wrong. So our one piece cabinet came to us as a barely standing, wobbly, holes stripped, non-fixable 2 piece unit. *sigh* Of course we claimed it and got reimbursed at replacement cost, but we were still stuck with the old cabinet and had to decide what to do with it.

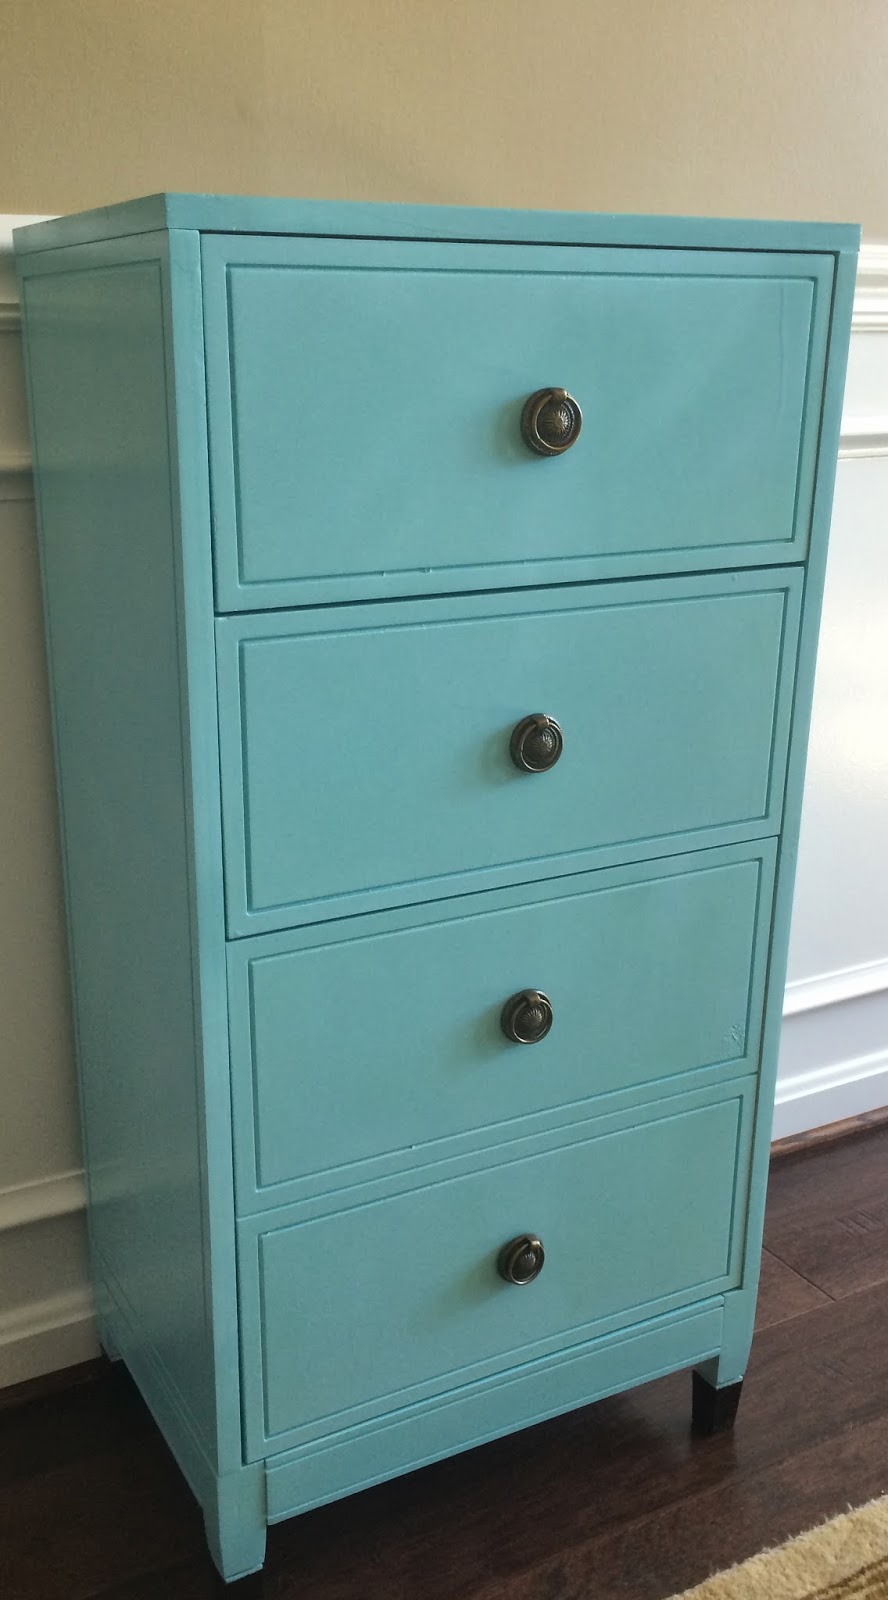
 |
| You can’t see me! Oh wait, I guess you can! |

5. This last project was the easiest, which leaves me no excuse as to why it took so long to do it! Our front door has side lights on either side that are glass. No film, no curtains.
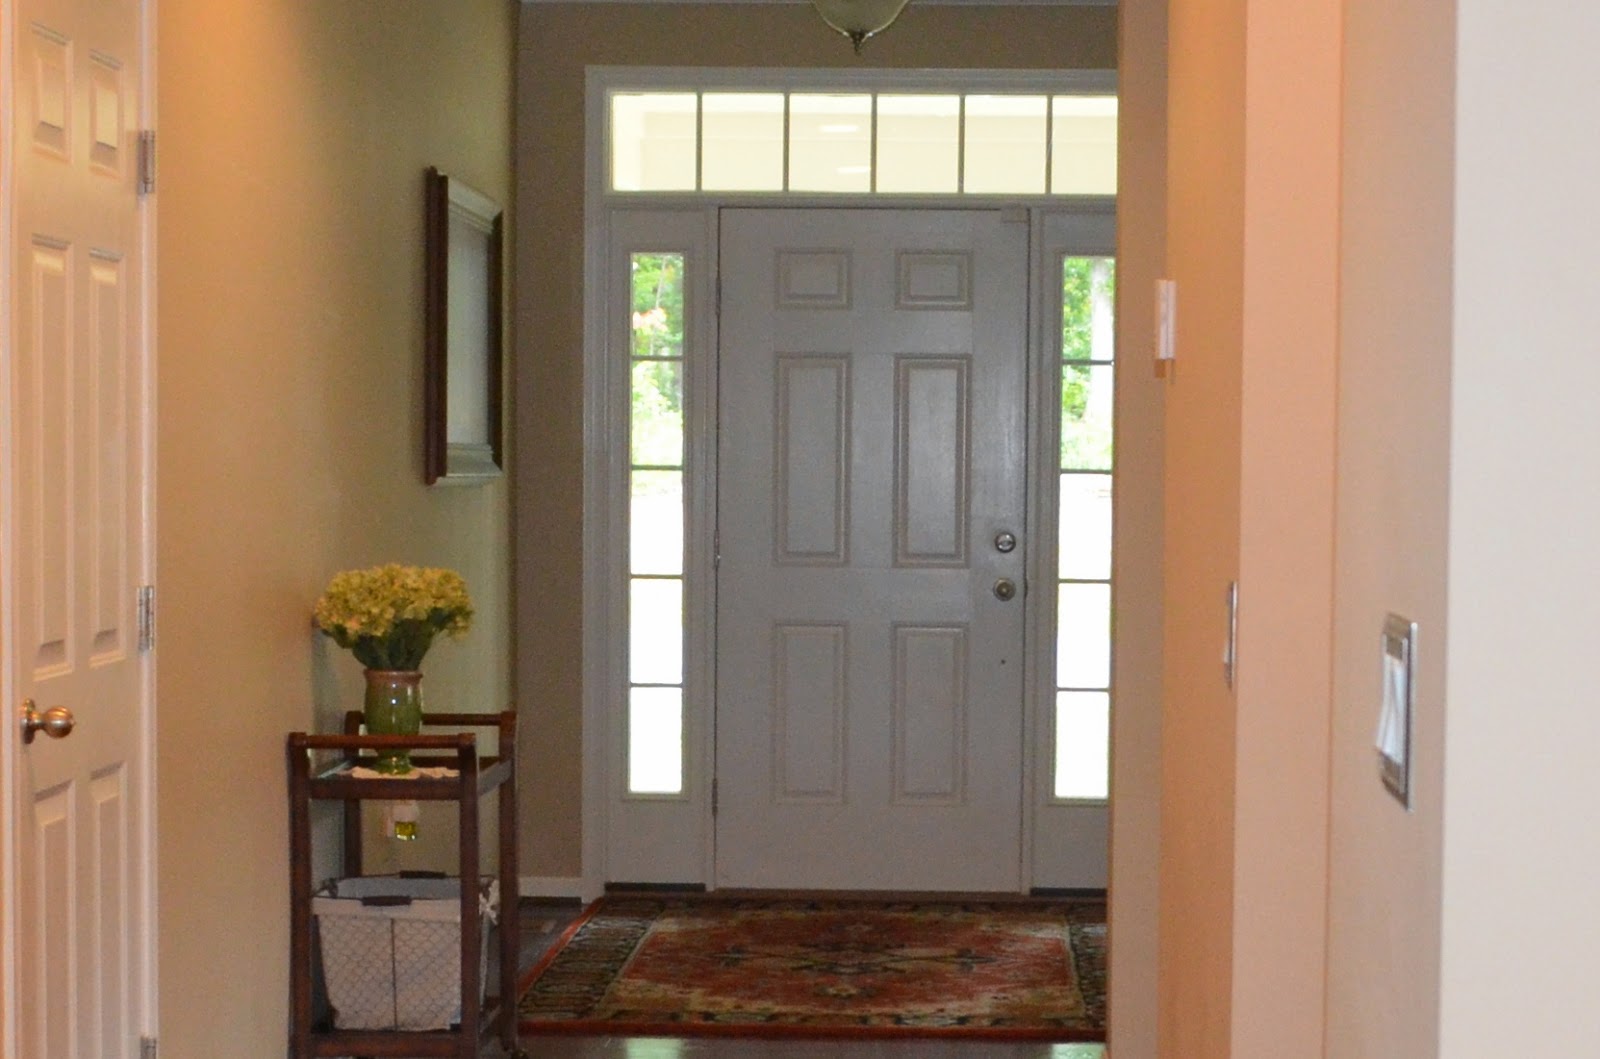
If you look in from the outside, you would see straight back to the living room and to whoever was sitting on the couch. So no privacy either. Couple that with my dogs who like to go into a barking fit every time they see movement outside. A car, a person walking their dog, a squirrel…they stand at the sidelights and bark their brains out!
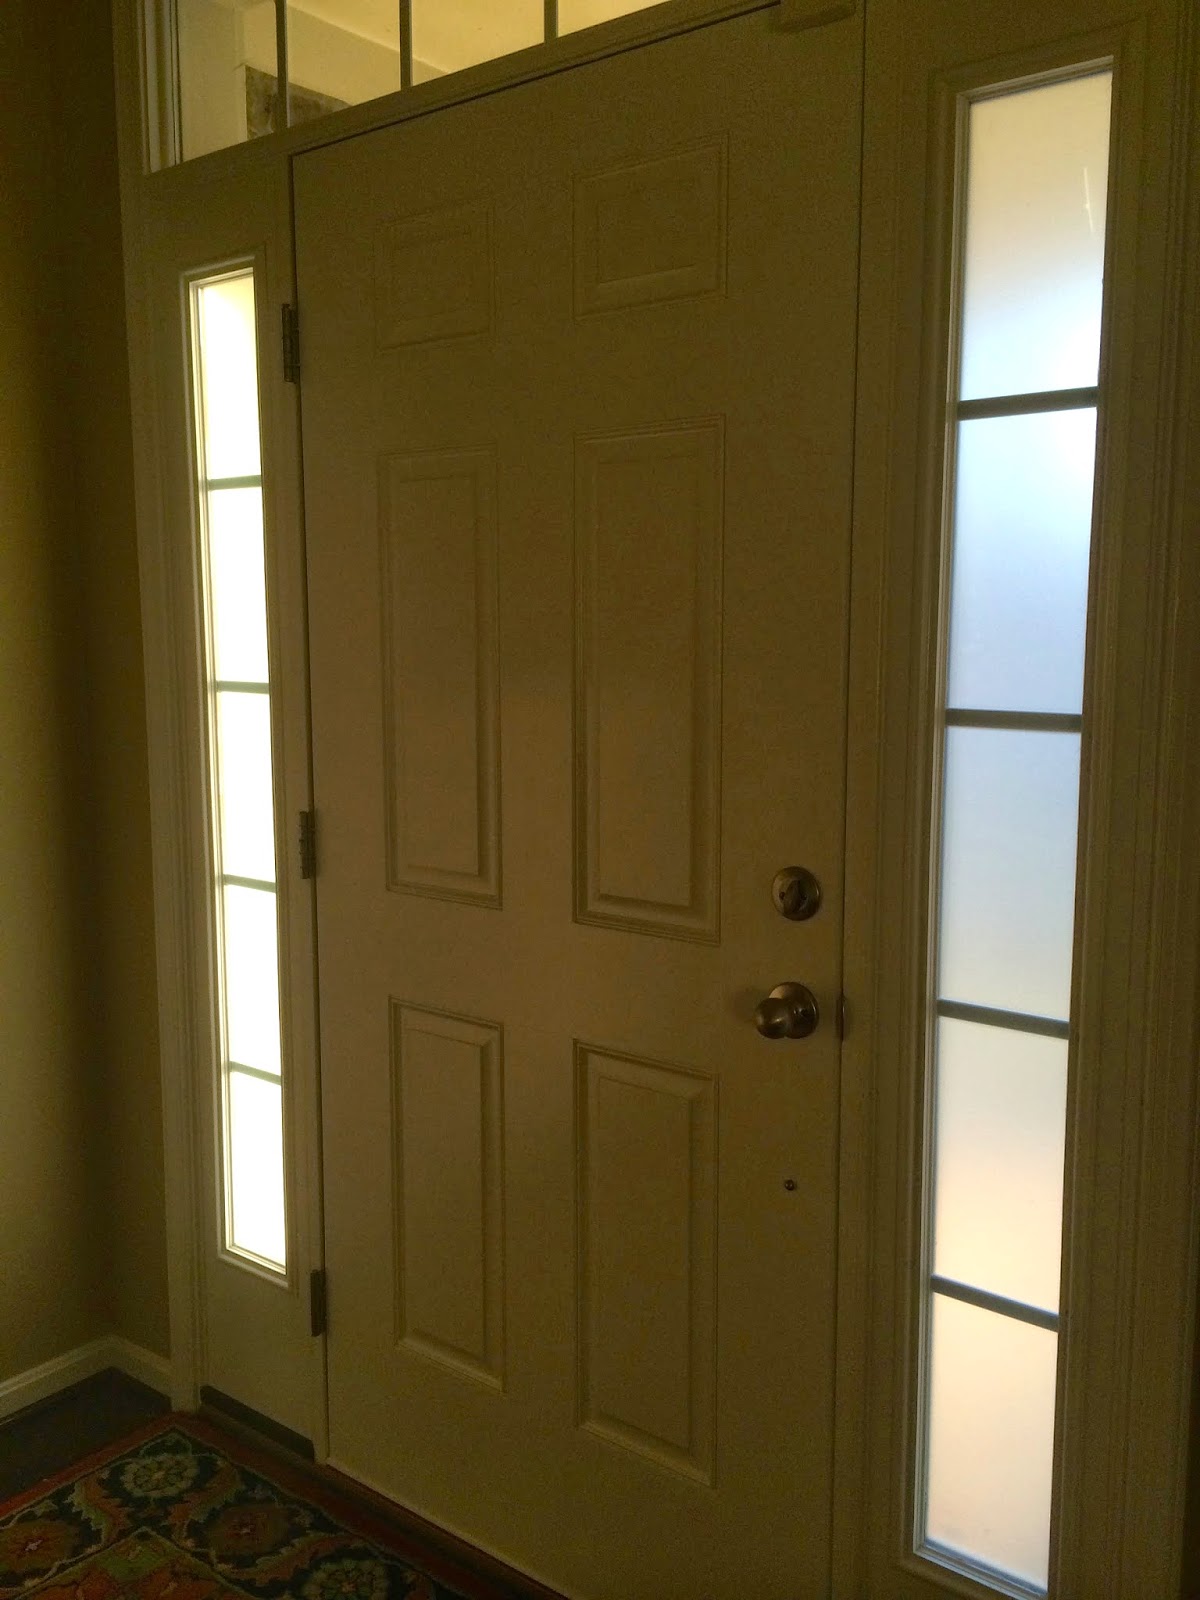 So we added the opaque film to the windows. There are many styles to choose from, and we just chose the one that was the most opaque. You can barely even see shadows out of this stuff! You can purchase it at any home improvement store, it comes in a roll, and goes on like tint film. It’s super easy and not permanent.
I can’t say that the dogs are super thrilled with it, but mama loves it! No more standing at the door and barking!
Spring is just starting, so I am sure I will have more projects coming up, and I know I will have a lot of cleaning and organizing! So guess I better get busy! 🙂

I LOVE Ikea! and the redo on the blue cabinet is gorgeous!
LikeLike